The first thing to do is to download and install all the required dependencies.
Please contribute platform specific instructions where needed.
Installing dependencies
1. Java JDK
If you do not already have the java JDK installed on you'r system, install the Java SE Development Kit - JDK 6 from here:
http://java.sun.com/javase/downloads/index.jsp
If you're running Windows this is a standard installer file, just follow the on screen instructions for installation.
2. Eclipse
Install the Eclipse IDE for Java Developers from http://www.eclipse.org/downloads/. This a ZIP archive file, extract the folder “eclipse” for me I extracted eclipse
under C:\eclipse . Most other flavors of Eclipse (like Aptana or platform specific builds) will also work, provided that you install all the necessary Eclipse plug-ins.
3. Android SDK
Install the Android SDK Package from here:
http://developer.android.com/sdk/index.html
Extract the downloaded archive and place it somewhere you'll remember like C:\sdk\android-sdk-windows
and add the tools sub directory to your environment PATH. Additional information and instructions for adding the Android SDK to your PATH can be found at:
http://developer.android.com/sdk/installing.html
Be sure to do the following (WINDOWS):
Add android SDK to your Path
Add android sdk tools (\android-sdk-windows\tools) to your path. This is necessary
for ruby to find the command "android create project" later on.
4. ADT Plug-in for Eclipse
Install the ADT Plug-in for Eclipse as described here:
http://developer.android.com/sdk/eclipse-adt.html
5. Adding Android SDK components
Install at least the required Android SDK components using the Eclipse ADT plug-in, as described here:
http://developer.android.com/sdk/adding-components.html
You can also launch the ADT tool by running android in your terminal.
To verify your installation of Eclipse, Android SDK, ADT, and Java, you can build a sample “Hello World” application using the instructions located here:
http://developer.android.com/guide/tutorials/hello-world.html.
6. Apache ANT
Windows - download and unzip Apache ANT and add it to your PATH http://ant.apache.org/index.html.
7. Ruby
Windows - download and install Ruby from the official site http://www.ruby-lang.org/en/downloads/ or use the RubyInstaller (recommended) here http://rubyinstaller.org/
8. Installing PhoneGap
Now make sure you download the latest version of PhoneGap here:
http://github.com/phonegap/phonegap-android.
9. edit the droidgap ruby file
change target_id = 5 to target_id = 6 to target Android 2.0.1 if your phone is running 2.0.1
10. Build framework and sample application
C:\Dev\mydroid\phonegap-android>ruby ./droidgap c:/sdk/android-sdk-win
dows/ phonegap com.phonegap.droid.demo c:/Dev/mydroid/phonegap-android/example/ c:/dev/mydroid
/phonegap-android/phonegap/
11. Once the phonegap app has been generated launch eclipse
To load eclipse and be able to see the workspace location use the -showlocation parameter
c:\eclipse\eclipse -showlocation
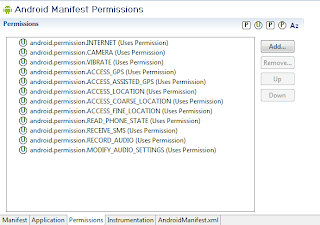
12. Next is to import the generated project in eclipse, fix any compilation errors, include the phonegap jar in your project build path and finally edit AndroidManifest.xml otherway you are going to see few crashes when trying to access lower level java class
I replaced the < by { and > by }
{?xml version="1.0" encoding="utf-8"?}
{manifest xmlns:android="http://schemas.android.com/apk/res/android"
package="com.tuniverse.droid"
android:versionCode="1"
android:versionName="1.0"}
{uses-permission android:name="android.permission.INTERNET" /}
{uses-permission android:name="android.permission.CAMERA" /}
{uses-permission android:name="android.permission.VIBRATE" /}
{uses-permission android:name="android.permission.ACCESS_GPS" /}
{uses-permission android:name="android.permission.ACCESS_ASSISTED_GPS" /}
{uses-permission android:name="android.permission.ACCESS_LOCATION" /}
{uses-permission android:name="android.permission.ACCESS_COARSE_LOCATION" /}
{uses-permission android:name="android.permission.ACCESS_FINE_LOCATION" /}
{uses-permission android:name="android.permission.READ_PHONE_STATE" /}
{uses-permission android:name="android.permission.RECEIVE_SMS" /}
{uses-permission android:name="android.permission.RECORD_AUDIO" /}
{uses-permission android:name="android.permission.MODIFY_AUDIO_SETTINGS" /}
{application android:icon="@drawable/icon" android:label="@string/app_name"}
{activity android:name=".WebActivity"
android:label="@string/app_name" android:configChanges="orientation|keyboardHidden"}
{intent-filter}
{action android:name="android.intent.action.MAIN" /}
{category android:name="android.intent.category.LAUNCHER" /}
{/intent-filter}
{/activity}
{/application}
{/manifest}
13. When your app will build with no error, you can run the application
in the debugger or in the emulator.
To view the android log (emulator) open a shell (usually the same one than the one
used to lauch eclipse and run
abt logcat
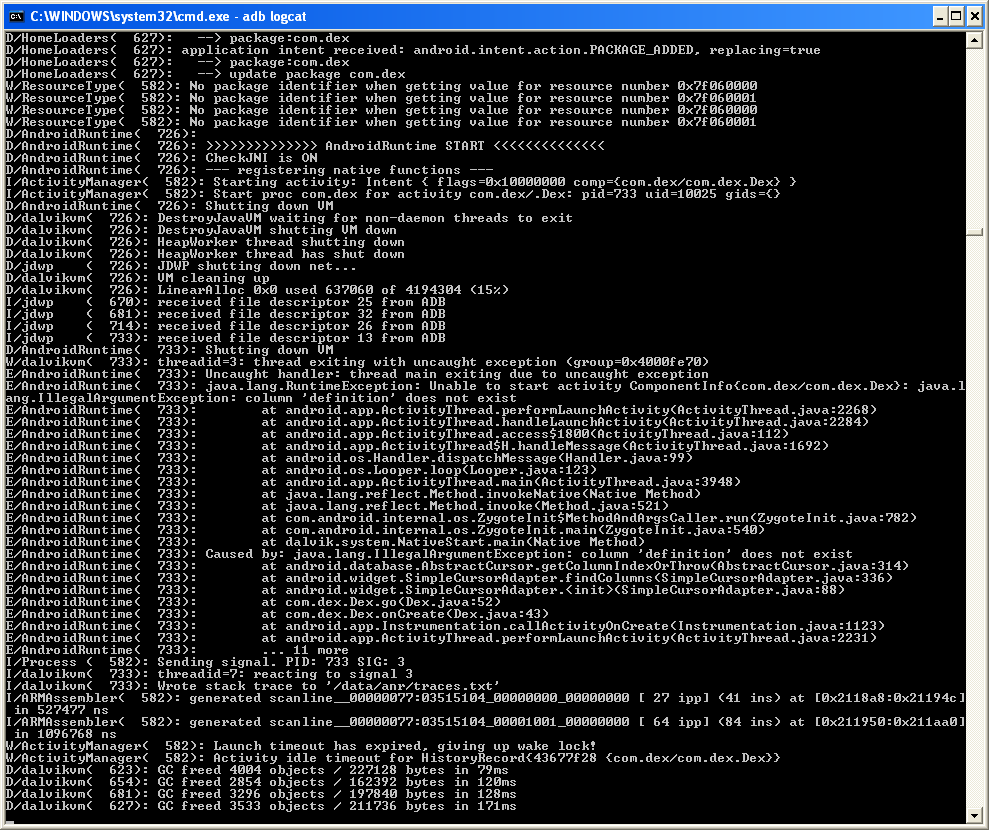
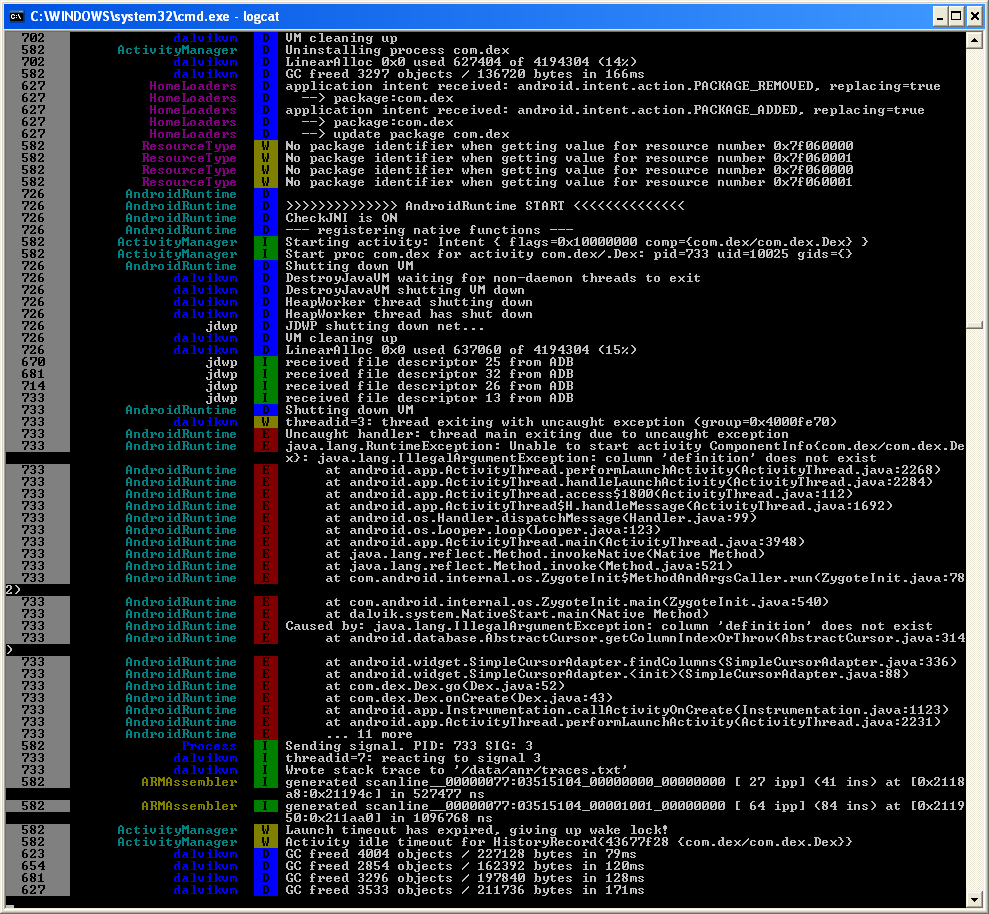
If you want a nicer logcat output you can use some very cool python script to output the android log in color !!! Install python first from here
As you can see, the colored adb logcat is a huge improvement.
To easily use the code, copy the files color_console.py, coloredlogcat.py and logcat.bat to your Android SDK/Tools path like c:\android-sdk-windows-1.5_r3\tools\logcat.bat. Now, instead of running "adb logcat" just run "logcat".
You can download the files here colored_logcat.zip (3 KB)
Thanks go to
Jeff Sharkey
André Burgaud
To install APK applications on your Android phone do the following:
Copy the APK file you want to install to your phone's memory card and insert
the card into your Android phone.
Go to Android Market and search for the Apps Installer application.
Open it and click on the Install button.
After it is installed, just open it. It will show you all the APK files stored directly in the root directory of your memory card.
Just click on the application you want to install and it will be installed.
Using the Android SDK and USB driver
There is one more method that can be used, you can install APK files into your phone using the Android SDK. Download the Android SDK.
First of all, install the Android SDK on your computer. You will also need
to install the Android USB drivers to connect the SDK to your phone via USB. You can get instruction on how to install it from here
To install applications from other sources, you also need go to Settings -> Application Settings and enable Unknown Sources. Also go to Settings -> SD Card and Phone Storage -> Disable Use for USB Storage. You can enable it again later.
Next, just open Command Prompt and type: adb install path/file.apk
where path is the full path to the APK file and file is the name of the APK application file. Your application is now installed. This is all you need to do, now just open the application on your phone and use it.
No comments:
Post a Comment